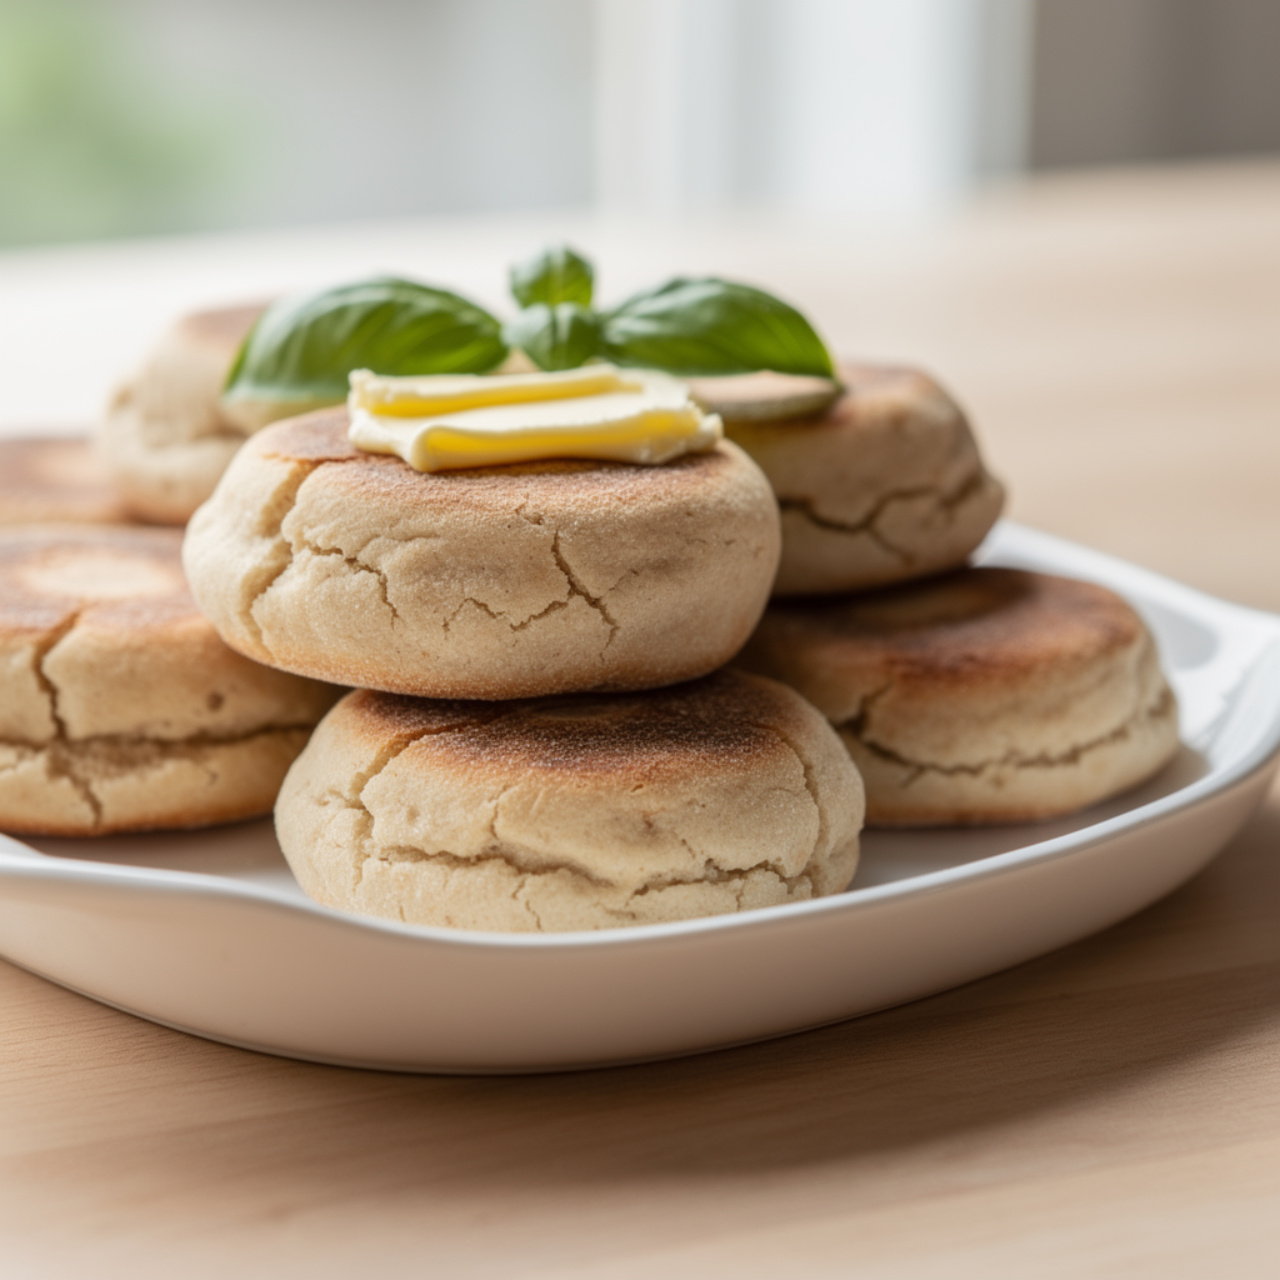
Gluten-Free English Muffins
Fluffy, nook-and-cranny-filled gluten-free English muffins made from scratch, perfect for breakfast sandwiches or a slathering of melted butter and jam.

Fluffy Gluten Free English Muffins, No Rings Required (Well, Almost)
If you have missed real English muffins since going gluten free, this recipe is about to become a permanent fixture in your breakfast rotation. These homemade gluten free English muffins are soft, chewy, and packed with the nooks and crannies that make English muffins worth eating in the first place. No dense, gummy gluten free bread here. Just a light, springy crumb that toasts up beautifully and holds onto melted butter like it was born to do it.
This is one of those gluten free recipes bread lovers will actually be excited about, whether you're building breakfast sandwiches, going classic with jam, or just eating one plain and warm straight off the rack.
Before we get cooking, the right tools and ingredients make a real difference here. A quality gluten free flour blend and a set of proper English muffin rings will take this recipe from good to genuinely bakery-worthy. These are the products that genuinely help this recipe shine:
Why This Recipe Works for Gluten Free Baking
Gluten free sourdough and gluten free breads in general have a reputation for being tricky, but English muffins are actually a forgiving place to start. Since the batter is closer to a thick pancake batter than a stiff bread dough, there is far less room for gluten free flours to go wrong. You are not kneading anything, you are not shaping a loaf, and you do not need the structure that a sandwich bread demands.
The key players here are:
- A well balanced gluten free flour blend. Look for one that includes xanthan gum already, since it mimics the elasticity that gluten normally provides.
- Instant yeast, which gives a good rise without needing to bloom first.
- Apple cider vinegar, a small but mighty ingredient that reacts with the leavening to give extra lift and a slightly tangy, authentic English muffin flavor.
Chef's Tip: Do not skip the resting time. Even though this batter behaves more like a muffin mix, it still needs that 45 to 60 minutes for the yeast to do its work. Rushing this step is the number one reason gluten free English muffins turn out flat.
The Low and Slow Cooking Method
The biggest mistake people make with any English muffin, gluten free or not, is cooking them too hot and too fast. You want low to medium-low heat and patience. This slow approach allows the inside to fully cook through before the outside burns, which is especially important for gluten free batters that can be a little more delicate in the center.
Using English muffin rings keeps everything tall and tidy, giving you that classic puck shape instead of a flat pancake. If you do not have rings, cleaned out tuna cans with both ends removed work perfectly and cost nothing extra.
Ready to make it? Here is the full step-by-step recipe:
Gluten-Free English Muffins
Fluffy, nook-and-cranny-filled gluten-free English muffins made from scratch, perfect for breakfast sandwiches or a slathering of melted butter and jam.
Ingredients
- 2 1/2 cups gluten-free all-purpose flour blend, a blend with xanthan gum already included works best
- 1/2 tsp xanthan gum, omit if your flour blend already contains it
- 1 tbsp granulated sugar
- 2 1/4 tsp instant yeast, one standard packet
- 1 tsp fine sea salt
- 1 cup dairy-free milk, warmed to about 110 degrees F, plus more if needed
- 3 tbsp unsalted dairy-free butter, melted and slightly cooled
- 2 large eggs, room temperature
- 1 tsp apple cider vinegar
- 3 tbsp cornmeal, for dusting
Instruction
In a large mixing bowl, whisk together the gluten-free flour blend, xanthan gum (if using), sugar, instant yeast, and salt.
In a separate bowl or large measuring cup, combine the warm dairy-free milk, melted dairy-free butter, eggs, and apple cider vinegar. Whisk until fully combined.
Pour the wet ingredients into the dry ingredients and beat with a hand mixer or stand mixer fitted with a paddle attachment for 2 to 3 minutes. The batter will be thick and sticky, more like a muffin batter than a traditional bread dough.
Cover the bowl with plastic wrap or a damp towel and let it rest in a warm spot for 45 to 60 minutes, until visibly puffy.
Heat a large skillet or griddle over low to medium-low heat. Generously dust the surface with cornmeal.
Grease English muffin rings (or clean, empty tuna cans with both ends removed) and place them on the hot skillet. Dust the inside of each ring with a little more cornmeal.
Scoop about 1/3 cup of batter into each ring, smoothing the top gently with a wet spoon or spatula.
Cook low and slow for 7 to 9 minutes per side, until deeply golden and cooked through, flipping carefully with the rings still on.
Remove the rings and transfer the muffins to a wire rack to cool for at least 10 minutes before splitting.
Split with a fork to create those signature nooks and crannies, then toast and serve.
Equipment
- English muffin rings or clean tuna cans
- Large skillet or griddle
- Hand mixer or stand mixer
- Large mixing bowl
- Wire cooling rack
Notes
Serving, Storing, and Freezing
Once split with a fork (never a knife, that's what creates the craggy texture gluten free eating fans crave), these muffins are endlessly versatile:
- Toasted with butter and honey
- As the base for a breakfast sandwich with eggs and dairy free cheese
- Split and topped with almond butter and sliced banana
- Alongside soup as a simple, sturdy side
For storage, let the muffins cool completely before sealing them up. They will keep at room temperature in an airtight container for a couple of days, in the fridge for about a week, or in the freezer for up to two months. Freezing is honestly the best option if you want a steady stash of homemade gluten free recipes easy enough for a weekday breakfast. Just pop a frozen muffin straight into the toaster, no thawing required.
This recipe proves that living around foods with gluten does not mean giving up the breakfast staples you love. With a little patience and the right ingredients, gluten free dairy free recipes like this one can taste just as good, if not better, than the originals.